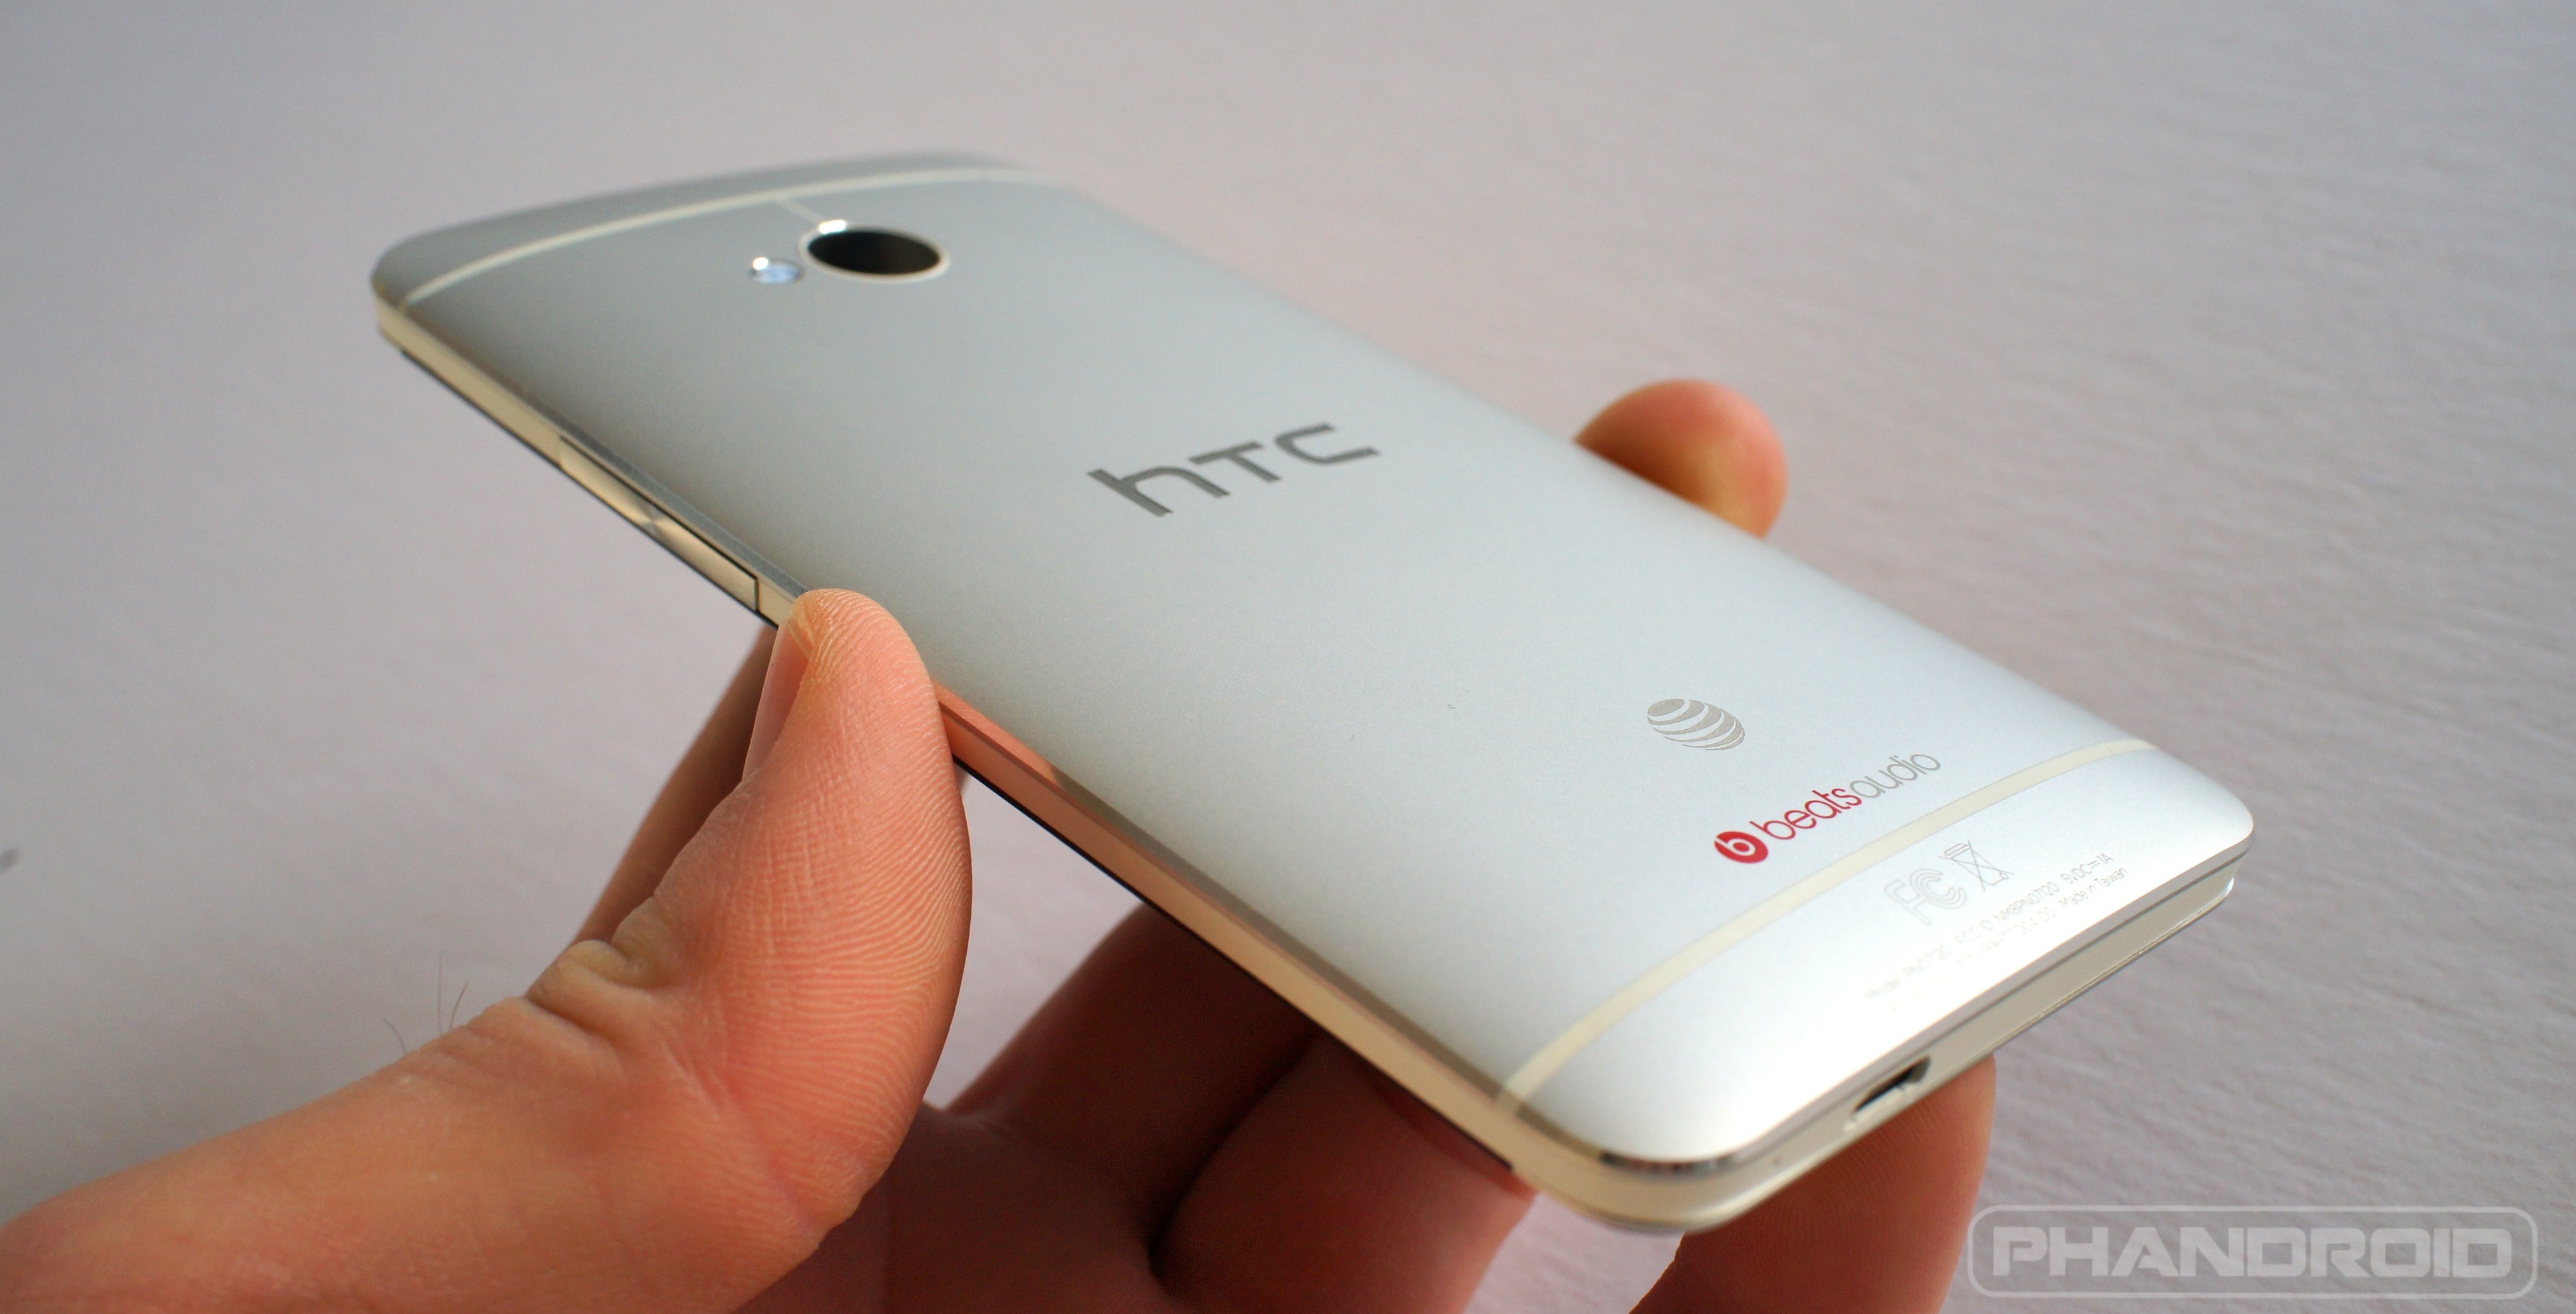
How to Restore the HTC One back to Stock Firmware
Let’s face it. At one point or another some of us root our Android devices, and in doing so we may realize that we either want the default experience back on our device or we have to take our devices in for repair, and we obviously cannot take them back rooted, so I’m going to show you how to unroot your phone and put it back to stock. Let’s get started.
DISCLAIMER: YOU ARE RESPONSIBLE FOR YOUR ACTIONS. NEITHER GEARPOP NOR I WILL BE HELD RESPONSIBLE FOR YOUR ACTIONS, YOU ARE DOING THIS AT YOUR OWN DISCRETION.
If you need help or this does not work feel free to reply below in the comments section, and I will do my best to help you.
Prerequisites:
- HTC One
- A Micro-USB cable, I recommend use of the OEM cable.
- A Windows computer
- HTC Stock Rom (For Sprint: http://www.androidfilehost.com/?fid=23203820527945238), Other Models: http://htconeroot.com/htc-one-stock-roms/official-android-4-3-stock-rom-root-for-htc-one-attt-mobileunlockedinternational/).
- ADB and Fastboot (http://forum.xda-developers.com/showthread.php?t=2317790).
- HTC ADB and Fastboot Drivers: (For Windoows 8: http://forum.xda-developers.com/showthread.php?t=2232799, For Windows 7: The Windows 8 drivers should suffice since the folder says Win7 in it’s title). 64-bit only. If you need 32-bit please try looking elsewhere by googling “HTC One 32-bit drivers for Windows (insert version name here).”
Steps:
1. Connect the HTC One to your PC via Micro-USB.
2. Enable USB Debugging by going to your Settings app, tapping “About phone,” and then tap “Build Number” repeatedly, until it says (“You are now a developer!”).
3. Install the HTC ADB and Fastboot drivers listed above in the prerequisites section.
4. Install Minimal ADB and Fastboot, which is listed above. To install, just keep clicking “Next” until it’s done (if you want a shortcut created, make sure you have “Shortcut on Desktop” checked).
4. Download the rom zip for your device as listed above in the prerequisites.
5. Open Minimal ADB and Fastboot, and you should see a command prompt window open, with your device connected type “adb devices”, and your phone’s serial number should appear along with the word fastboot.
6. Next type “adb reboot-bootloader” to boot into the bootloader of the device.
7. Extract the rom.zip file from the zip file download above and place it in the location in which adb and fastboot are stored.
8. Now type “fastboot oem lock,” followed by “fastboot oem rebootRUU,” (enter the second command after it reboots to the bootloader) and you should be presented with a black HTC screen.
9. Type “fastboot flash zip rom.zip,” and you should be presented with an error code, that’s fine. Just enter the command again and hit enter, and it should flash. Make sure the phone is in RUU mode (black screen) each time you enter the command.
10. When it says “SUCCESS” and the green bar appears stuck, simply enter “fastboot reboot” in the command prompt. Your phone should reboot and you will be presented with the HTC setup screen!
Optional:
11. If you want to remove the tampered warning from your bootloader, follow the instructions on this page: http://www.htc1guru.com/guides/htc-remove-tampered/. (I don’t know if this works or not, or whether or not it removes the relocked flag if you’ve unlocked your bootloader).
About the Author Logan Garner
I am a 18 year old student currently in college for Computer Science. My passion is technology.


Leave a Reply